Young coconuts are a tasty and versatile fruit that can be used in recipes from all over the world.
However, opening and accessing its sweet liquid and flesh can be challenging.
Young coconuts, although they are easier to open compared to mature coconuts, still require some effort in order to get the job done.
In this post, we’ll explain how to open a young coconut step-by-step and go over some tips on how to make the process easy and safe.
So let’s get started!
Contents
Step 1: Place the coconut on a hard surface
The very first step is to place the coconut on a hard surface such as your kitchen counter.
This will help you keep it steady and prevent it from rolling away.
On top of that, you want to make sure every part of the coconut is firmly placed on the counter, especially if you’re planning on using a knife.
Also, don’t forget to wear protective gear such as gloves and goggles!
Even though it is very easy to open a young coconut, accidents can happen.
By the way, for those of you looking for a visual representation of these steps, make sure to check out this video:
We essentially show you step by step, the same thing you’re about to read, and that way you’ll have a better idea of what to do.
Step 2: Remove the Protective Packaging
The first step is to remove the coconut’s protective packaging.
This can be done with either a knife or something that allows you to cut through.
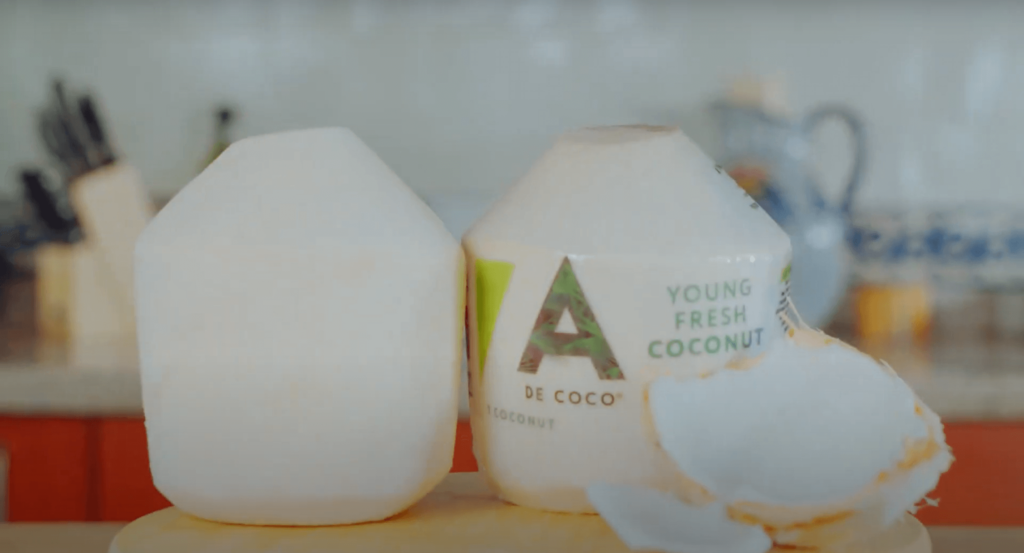
Gently slice away the packaging until it falls off and expose the outer husk of the coconut.
You should now have a better view of the shape and size of your coconut.
Step 3: Cut the fiber at the top until you feel the husk
Once you’ve removed the packaging, it is time to cut through the fibers at the top of the coconut.
Do this until you can feel the husk all around your coconut.
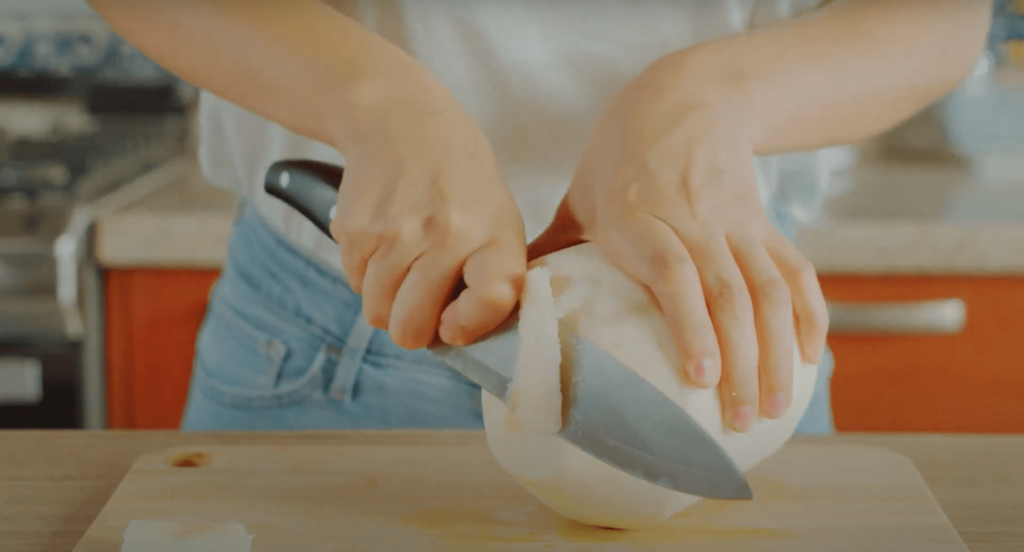
You can use either a knife or something sharp that will allow you to cut through.
The better you are at doing this, the easier it will be to open since you’ll have a better view of the shape and size of your coconut.
Step 4: Give small stabs at the top
Now that you’ve cut through the fiber, it is time to make some small stabs at the top.
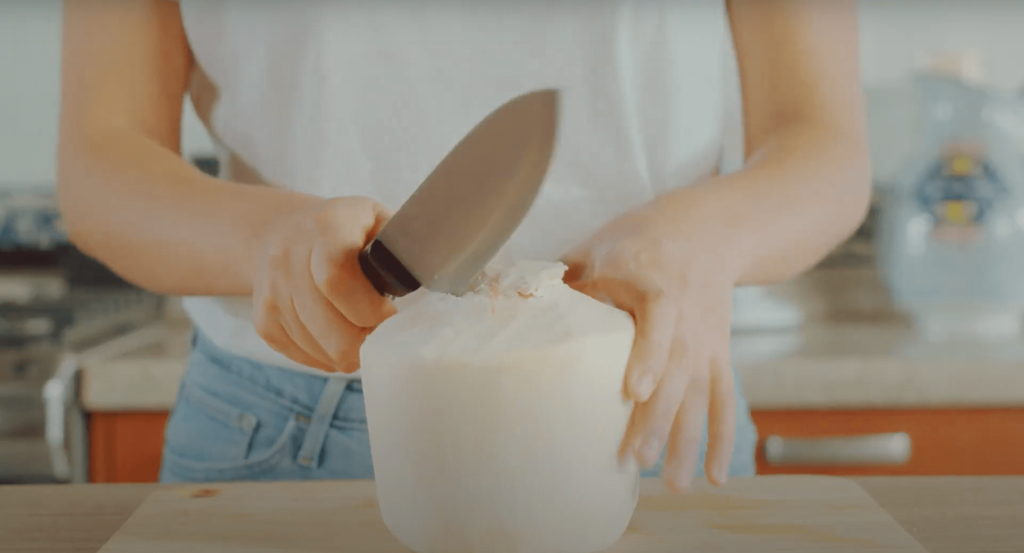
Do this in a circular manner with a circumference of about an inch and a half.
By doing this, you’ll be able to create an opening at the top of your coconut that will later be used to access the sweet liquid and flesh inside.
Step 5: Remove the husk
Once you’ve made an opening at the top, you should now be able to remove it either by using your hands or scooping it with the help of a knife.
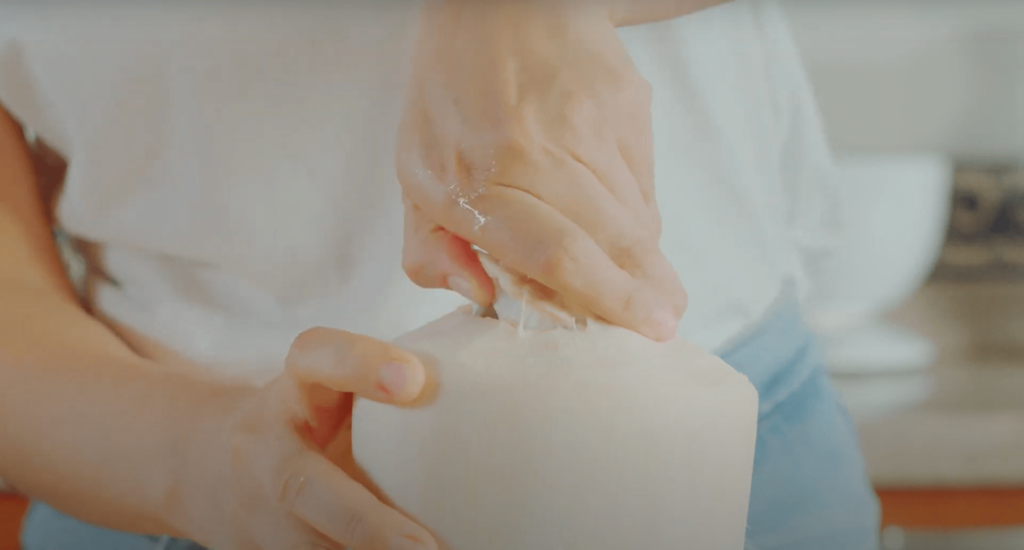
Keep in mind that young coconuts are usually very soft and that it may be difficult to remove the husk in one piece.
If you find that it’s too hard, you can always cut away more parts of the husk until it becomes easier to remove.
Step 6: Enjoy your fresh young coconut!
And that’s it, you now have a delicious and fresh young coconut ready to be enjoyed.
You can use it in recipes or just enjoy it as-is.
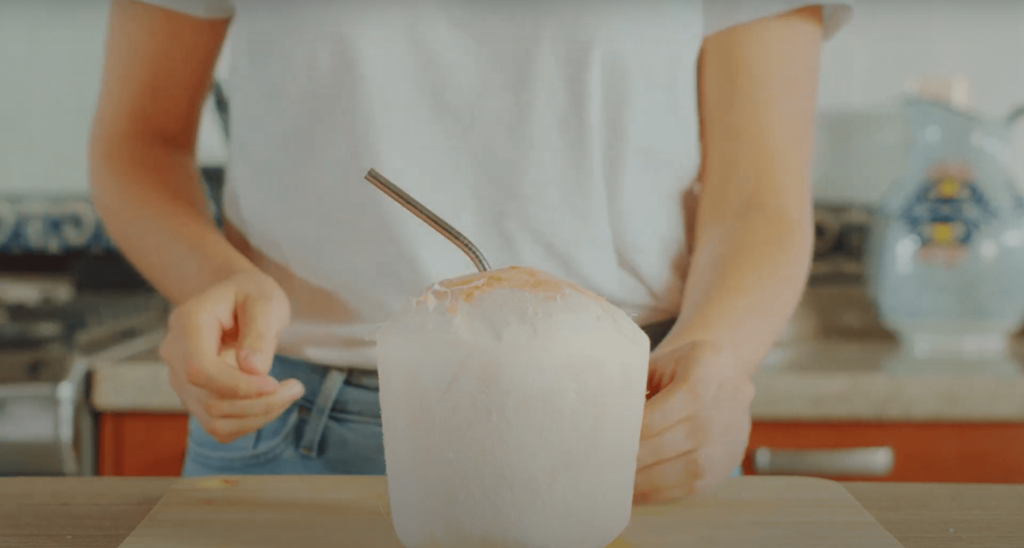
The possibilities are endless!
We hope you found this post helpful and that it gave you the information that you were looking for.
Happy coconut-ing!

